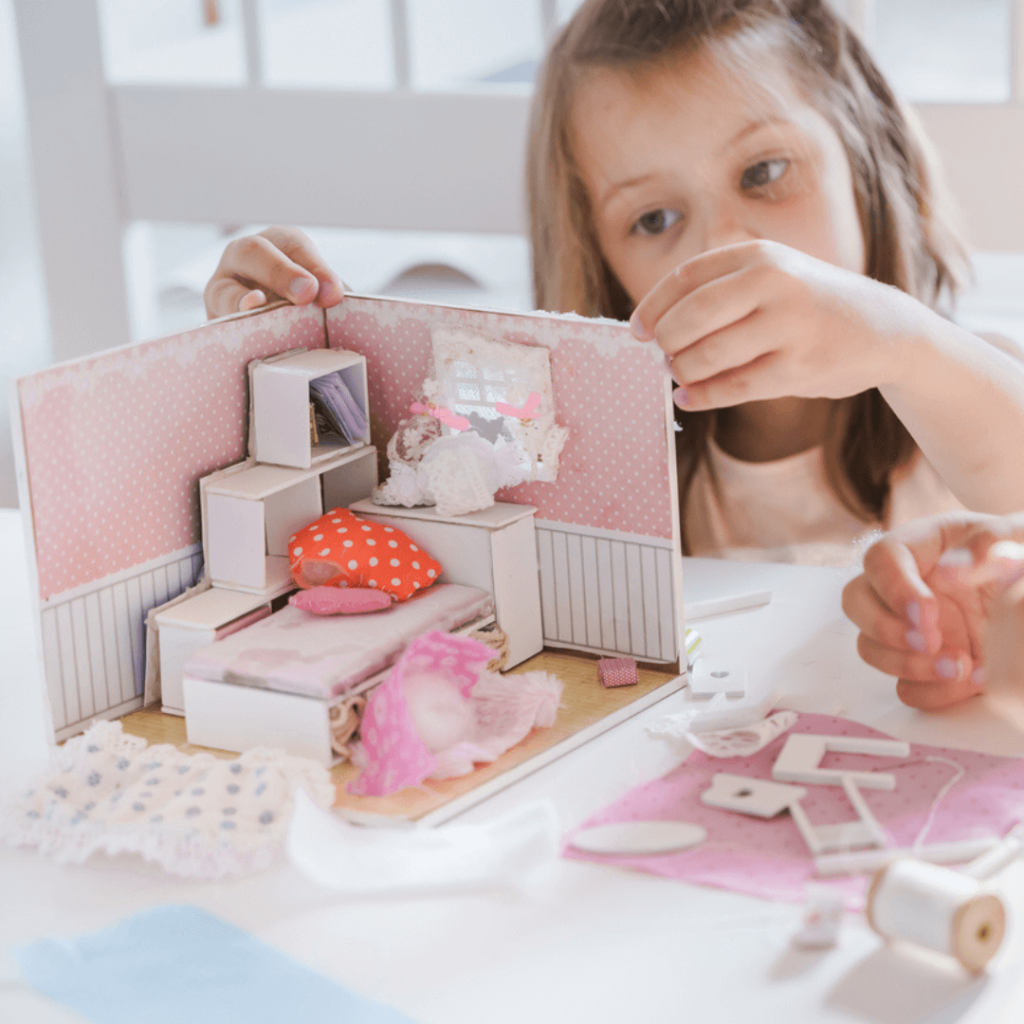
Activity: Design a hangout space for friends.

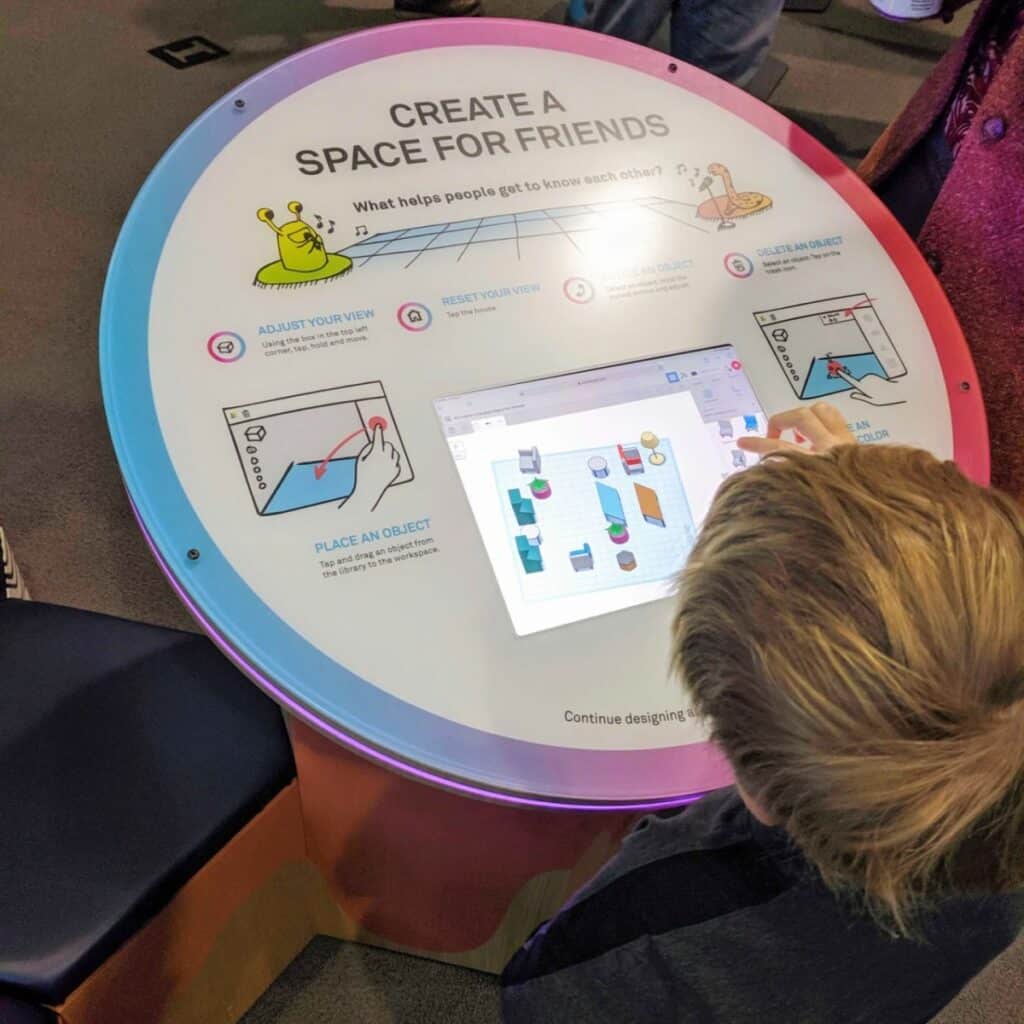
OMSI and Tinkercad have teamed up to create an exciting new interactive exhibit. Using a series of six, custom-built Innovation Stations running Tinkercad software, OMSI guests are encouraged to imagine and design the ideal space for their friends to gather.
Designed by Autodesk high school interns in Portland, the furniture in the new OMSI Hangout Space menu allows anyone to play with decorating their own virtual space.
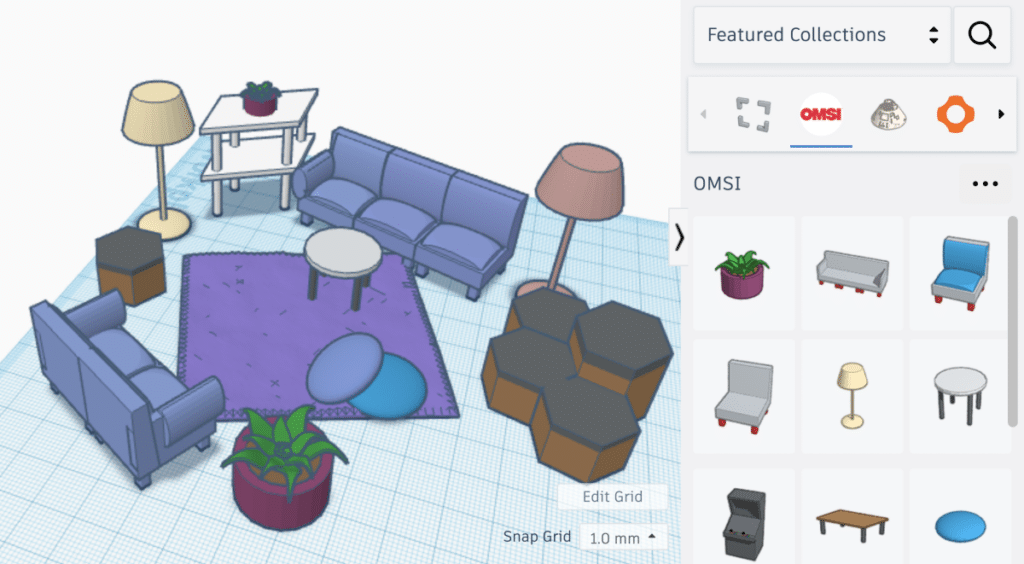
Thanks to technology, you don’t have to visit the museum to design your own space. Find information below about how to create your own OMSI Hangout online with Tinkercad or design a space at home.
OMSI Hangout YouTube Walkthrough
Try it Yourself from Home with a Hangout Space Diorama
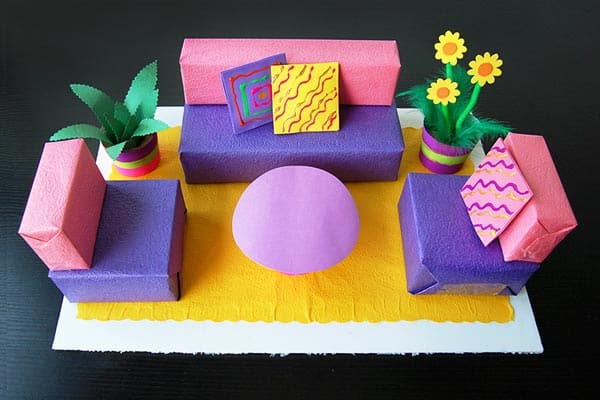
Building a diorama is a fun DIY project in which you can create an exciting scene in a small space. Dioramas allow a lot of room for creativity and innovation.
In this DIY project, you can use materials at home to create a space for you and your friends to hang out.
Materials Needed
- Shoebox, small cardboard box, or small plastic bin
- Glue, or hot glue gun with parent supervision
- Scissors
- Paper
- Optional to enhance your project:
- Paint, paintbrush
- Modeling clay
- Felt or fabric strips
- Miniatures, like figurines, fake plants, or dollhouse furniture
- Found objects, like rocks or twigs
- Printed pictures or magazine pages
Step By Step Instructions
Write down your ideas.
Make a rough sketch of your ideal diorama. Sketch out what you want the diorama to look like, including the background and foreground.

Prepare.
Gather additional creative materials for your theme. For instance, maybe you’ll add grass or flowers to a garden section.
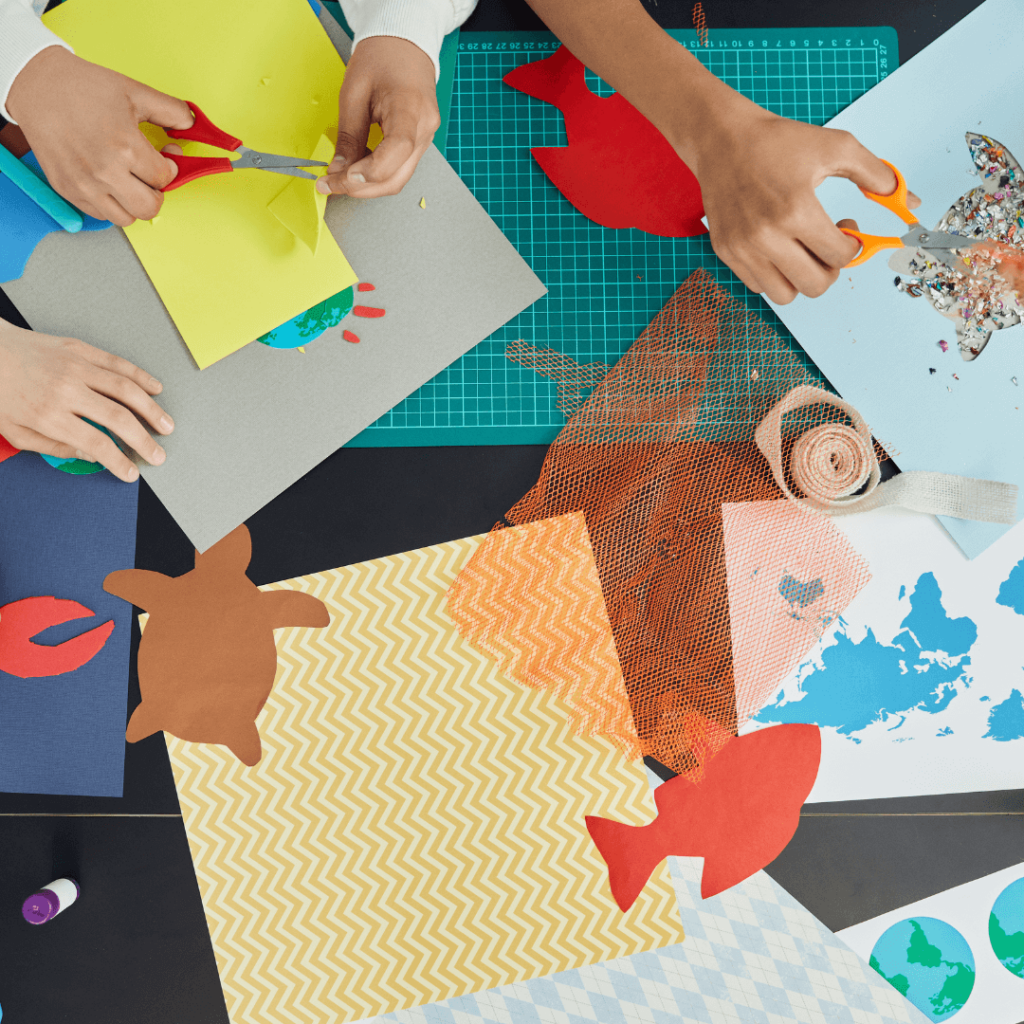
Research the subject.
Once you’ve chosen a hangout space theme, you’ll need to do research to make your diorama as lifelike as possible. What will you and your friends use this space for? Does it have realistic items such as doors or windows? How can you ensure the space is fun for others to enjoy?

Set up your container.
Because dioramas have layers of background, they should be made in a box or frame that is several inches deep. The container must have an open-faced front so that viewers can see the scene. A shoe box or shipping box turned on its side works incredibly well for creating a basic diorama. You can paint the outside of your box for a more finished look. Do this first and let the paint dry before you start work on the inside of the diorama.
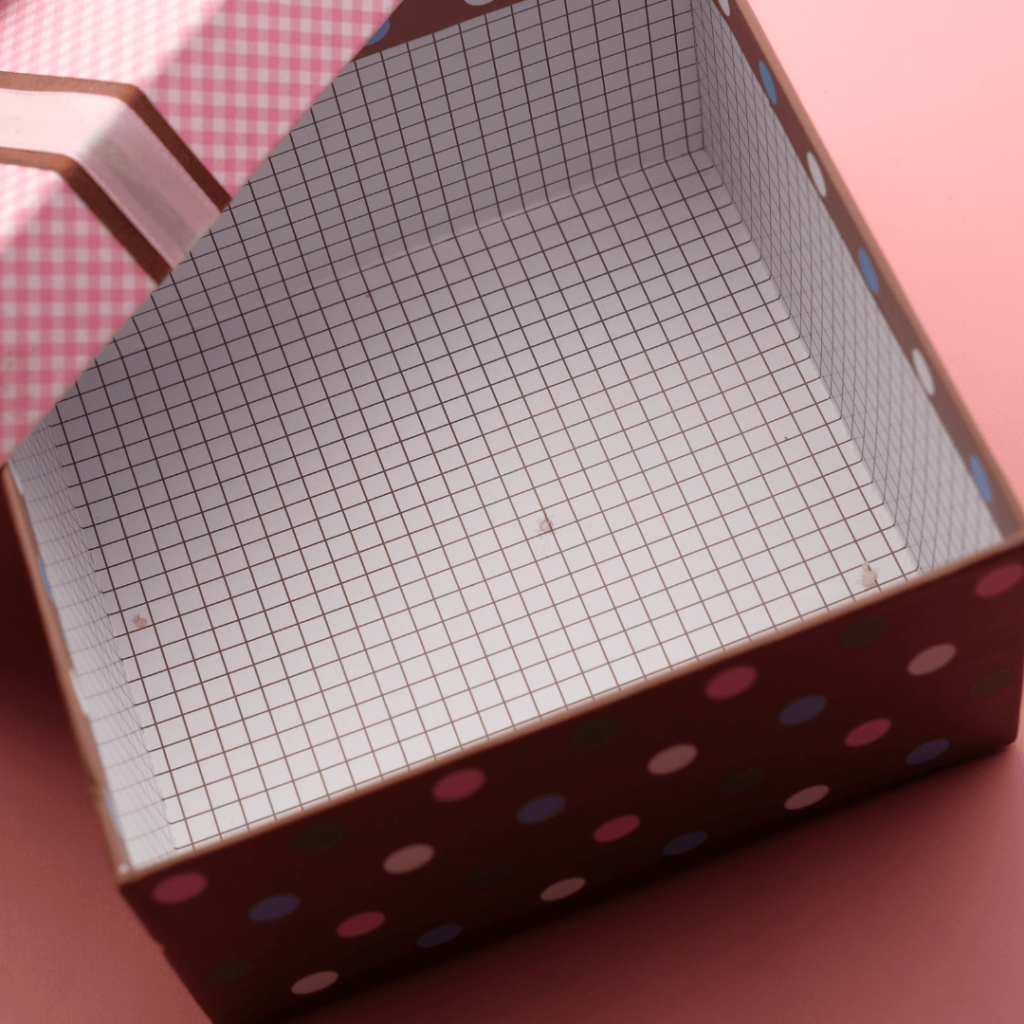
Create your background first.
Begin at the back of the container and work your way forward, adding layers of details and images to create depth in your scene. Consider painting a basic scene or printing an image and gluing it on. You could also create a collage out of magazine cutouts to act as the background for your diorama. Coloring on the cardboard with markers will just make everything look dark. If you can, cut out construction paper and glue it on the box for brighter colors.

Build up the ground or landscape.
A realistic diorama should include details on the bottom of the box as well. You can use pictures, paint, or modeling clay to create a realistic ground or floor for the diorama.
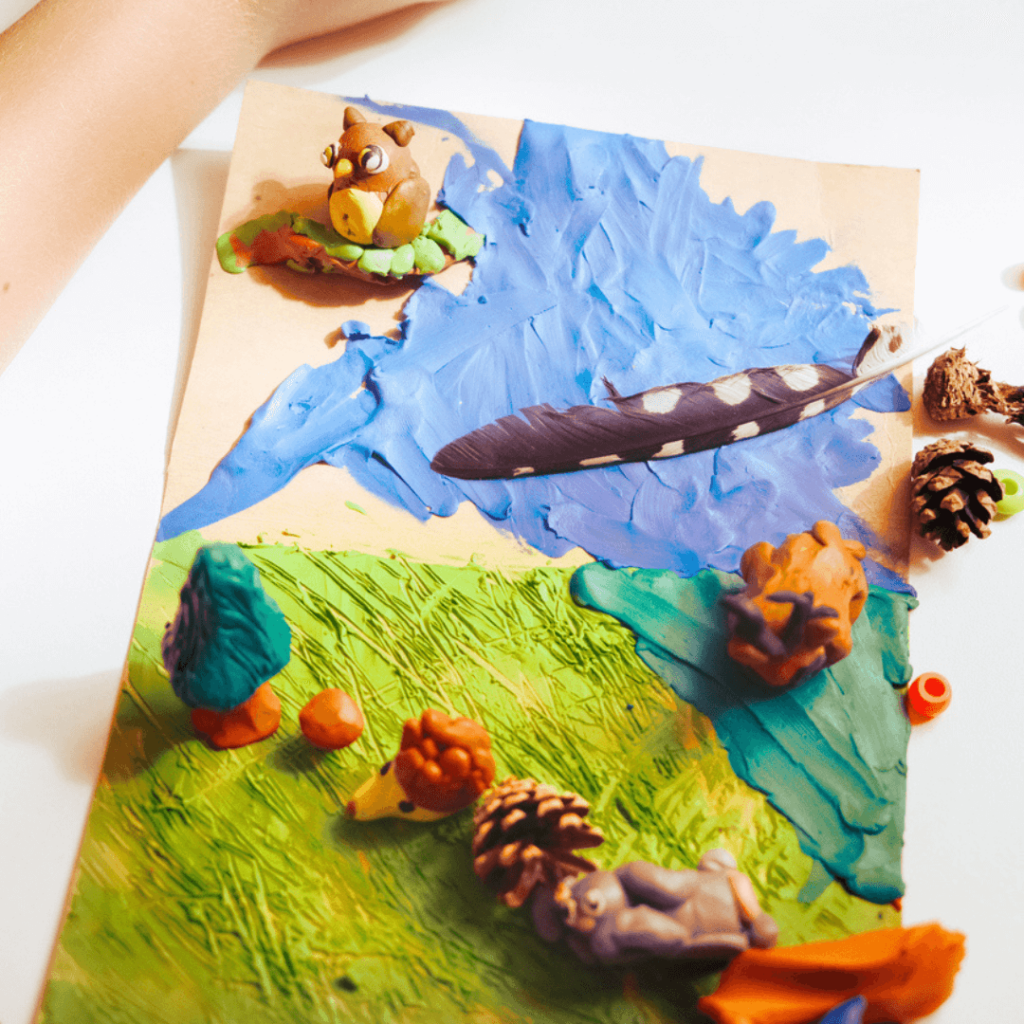
Add details to make the scene realistic.
Space your items out from the top of the box to the bottom to make it visually appealing. Lay everything out, but wait to glue it down until you’re sure things are where you want them. Set up the miniatures, if applicable. Complete your scene with the addition of miniature figurines, furniture, or models.
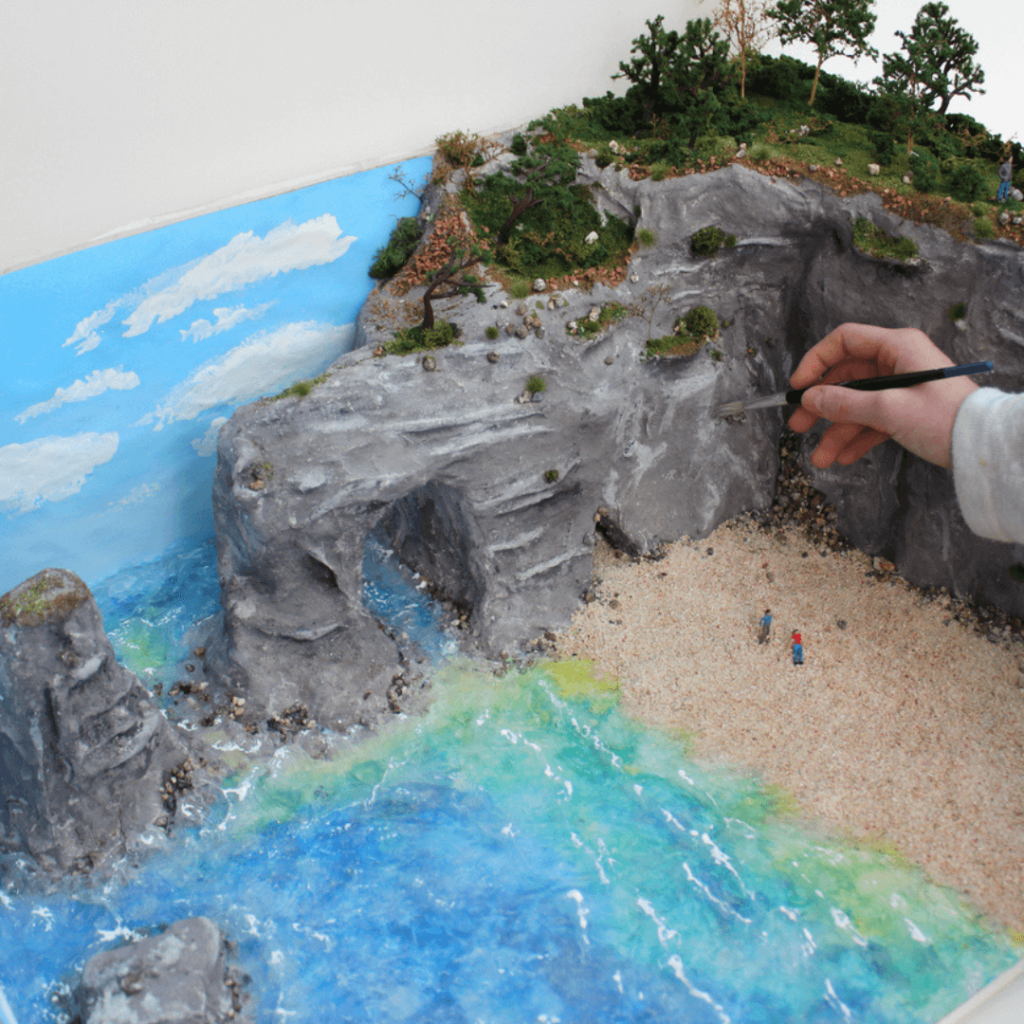
Inspect the diorama.
Make adjustments until you are pleased with the overall look. Try to space out the objects evenly throughout the diorama so the scene is balanced. Now, go ahead and glue everything into place!
